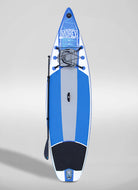
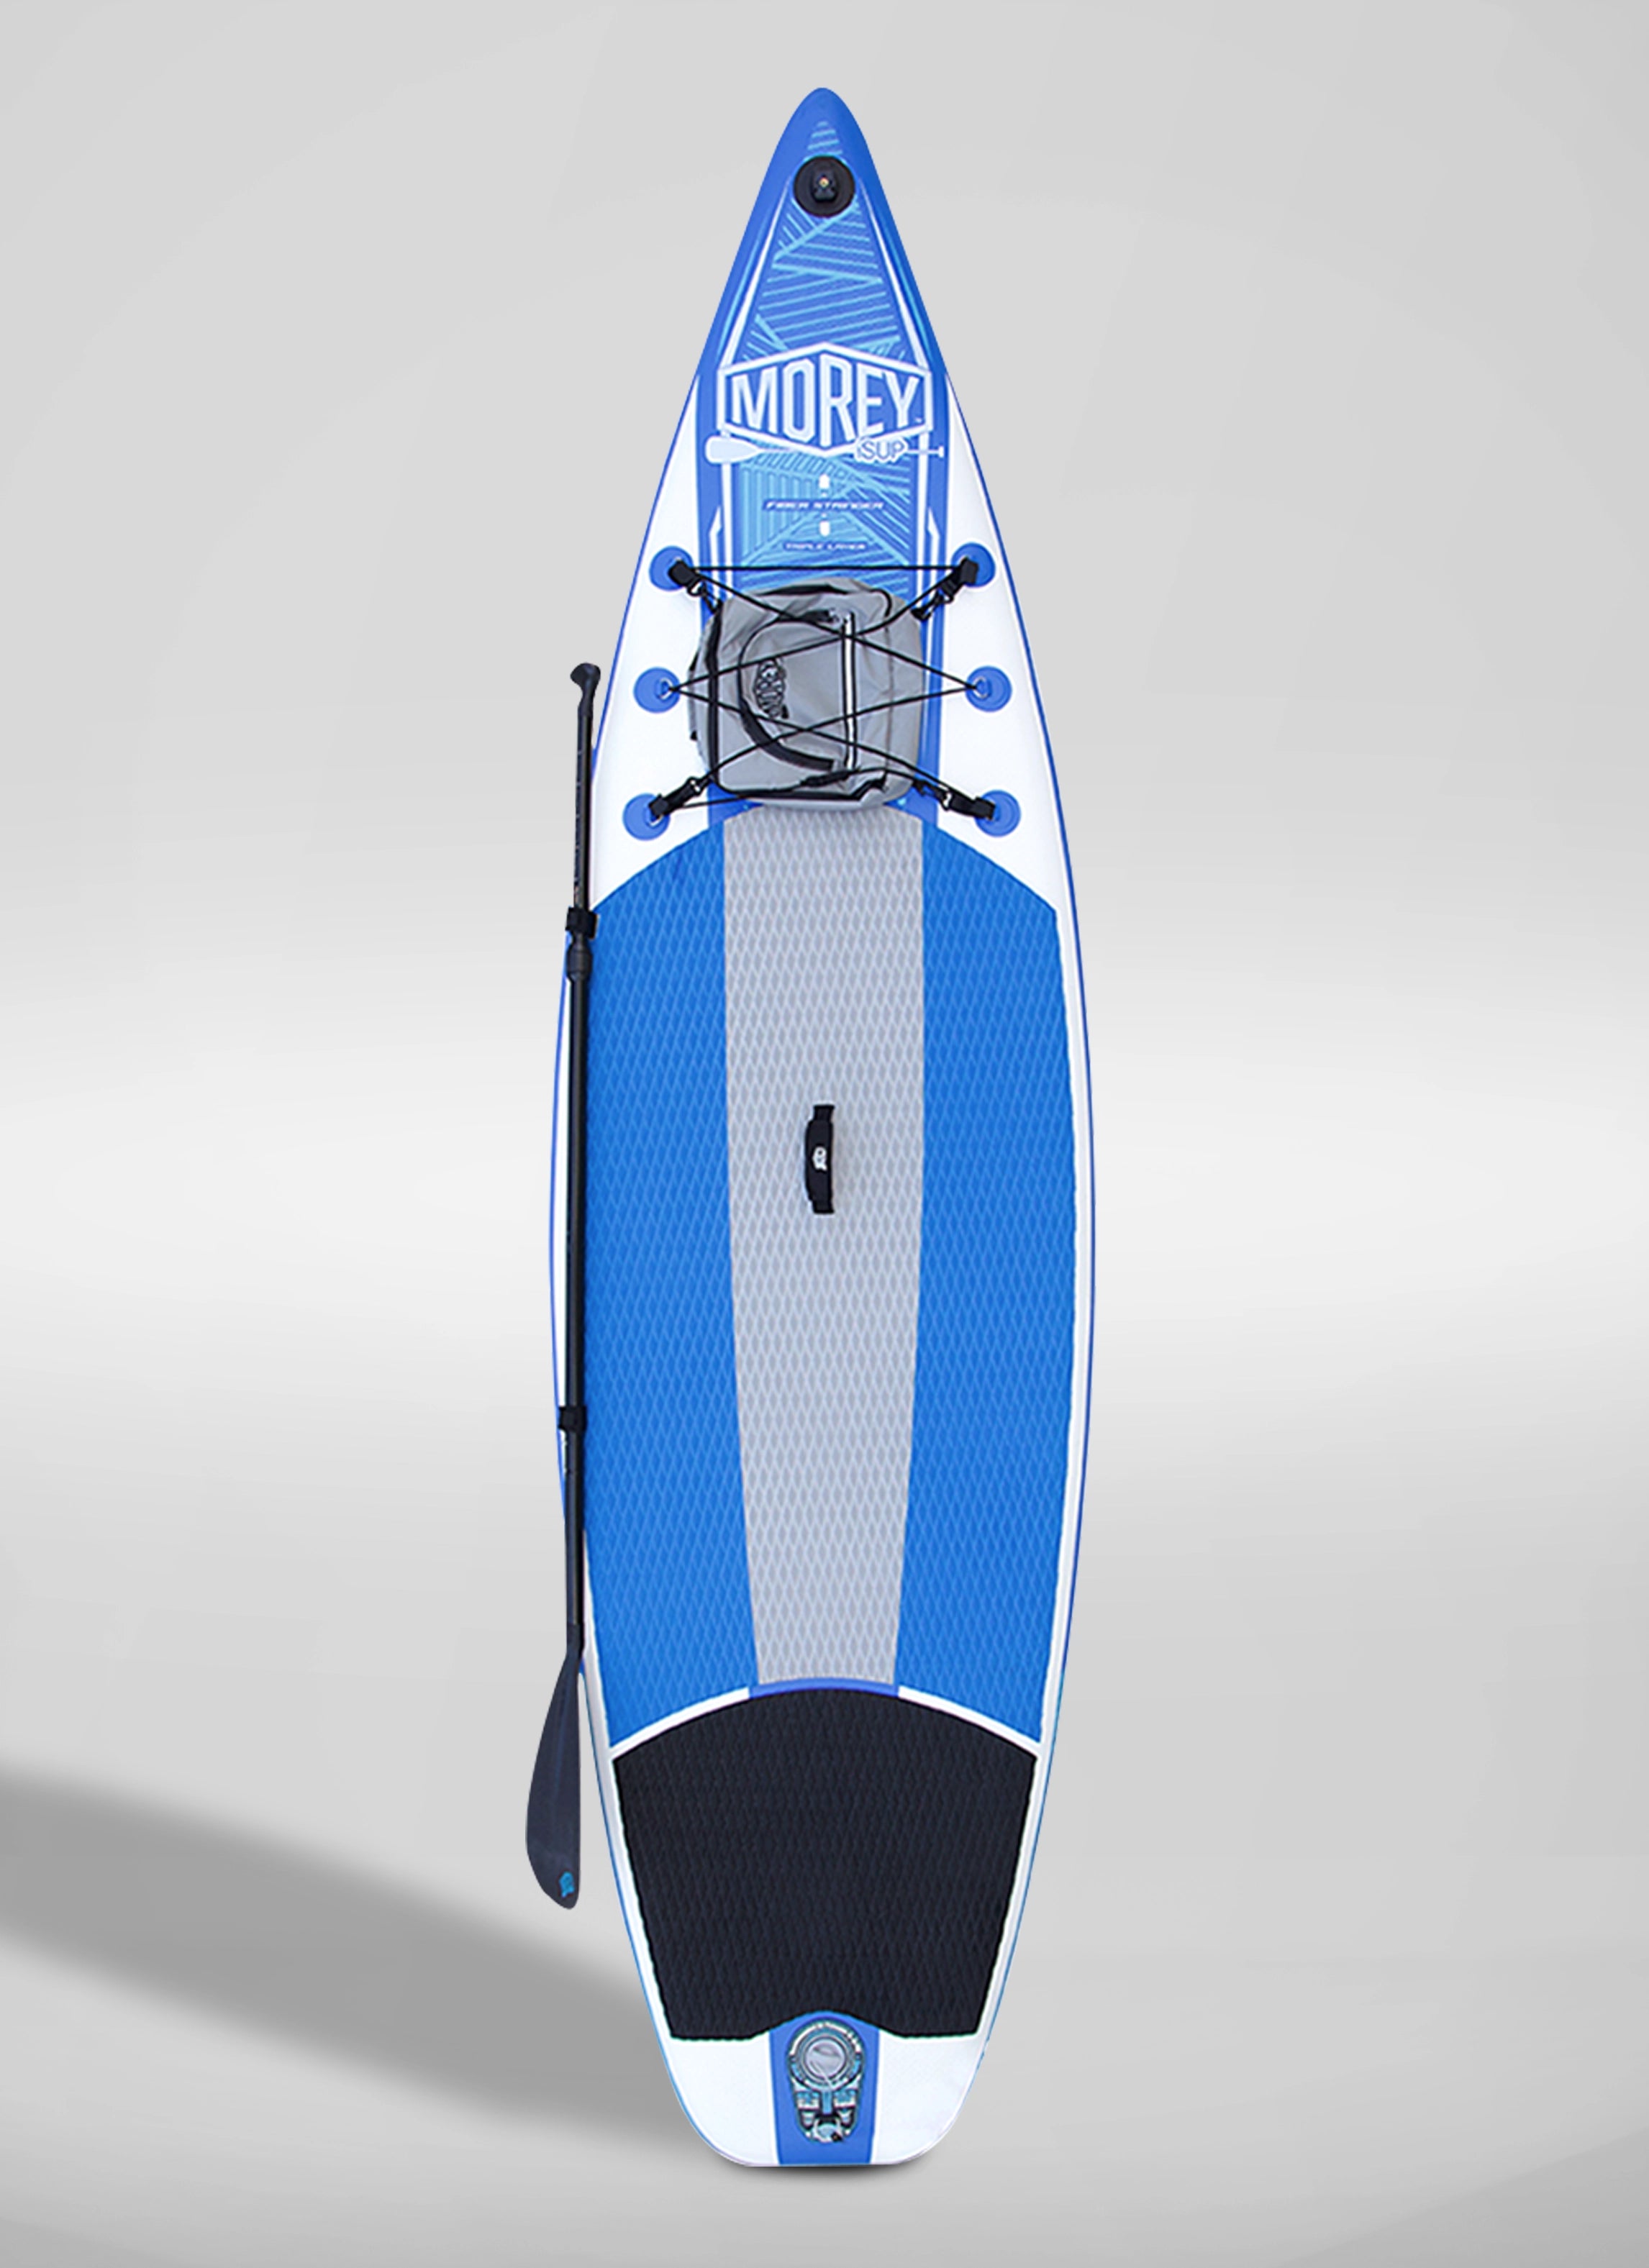
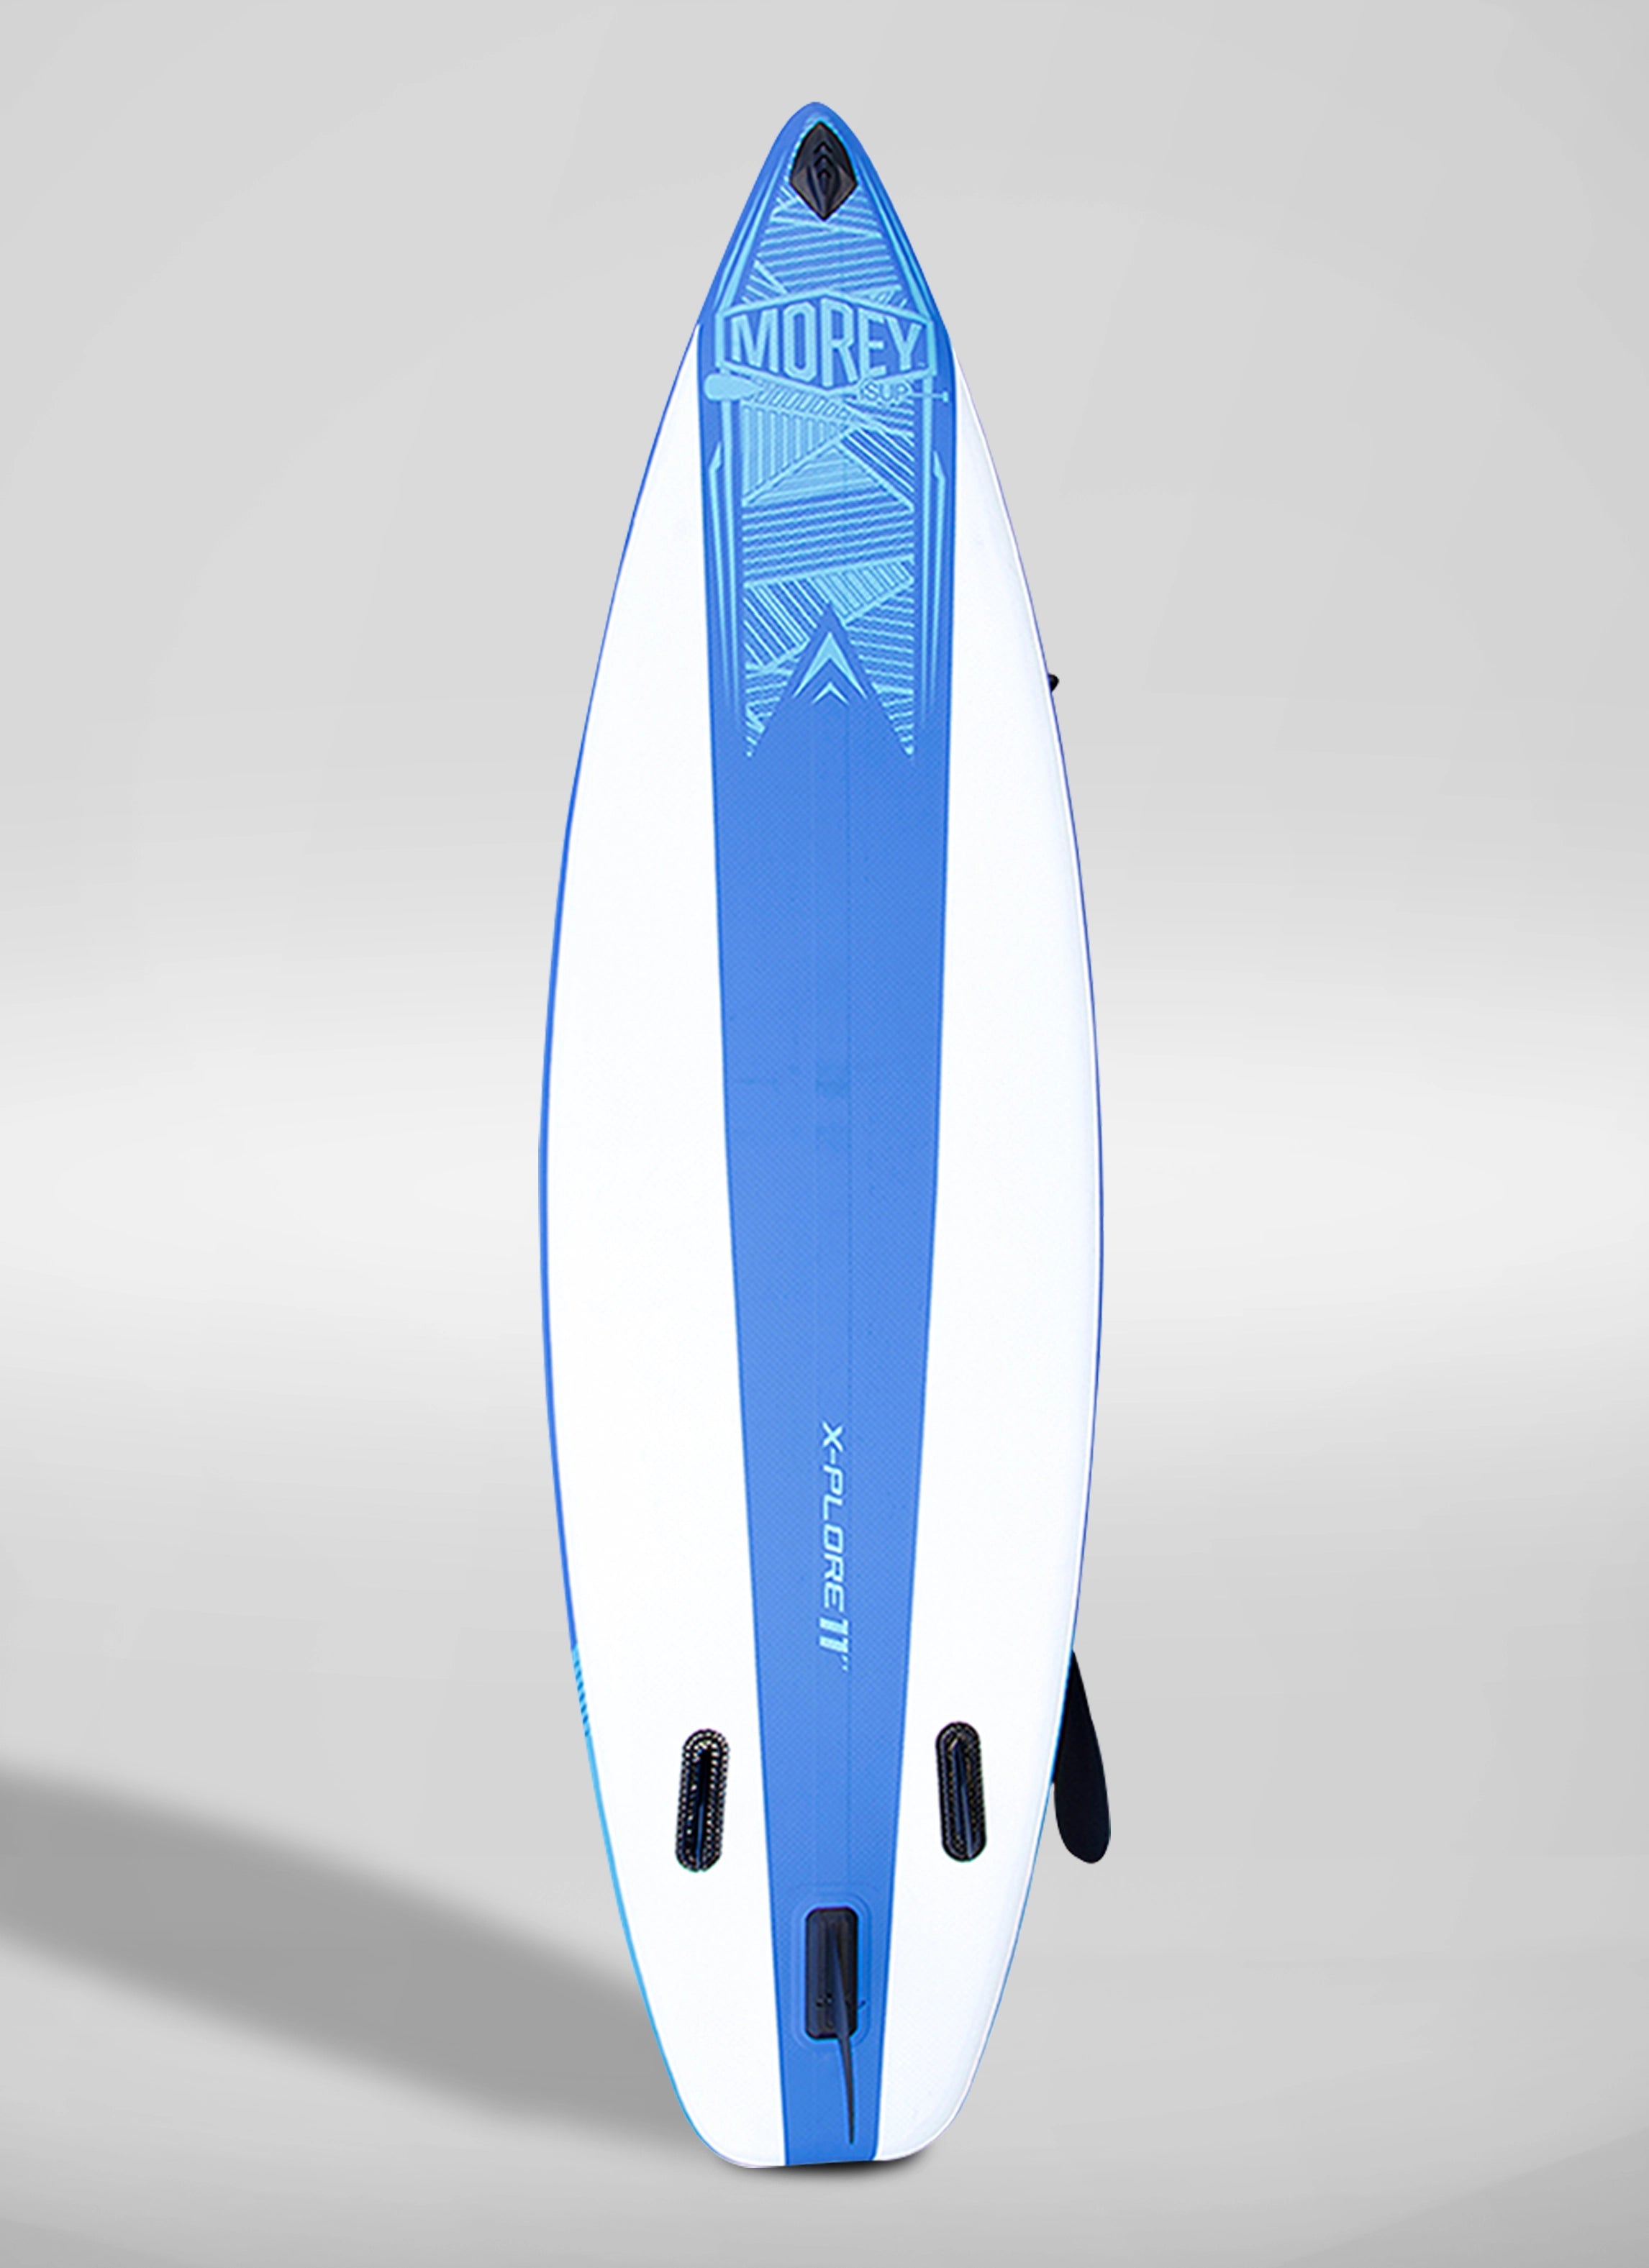
11ft. X-PLORE ISUP
11ft. X-PLORE ISUP

11ft. X-PLORE ISUP

Sale price

$549.00

Regular price $439.00
( / )

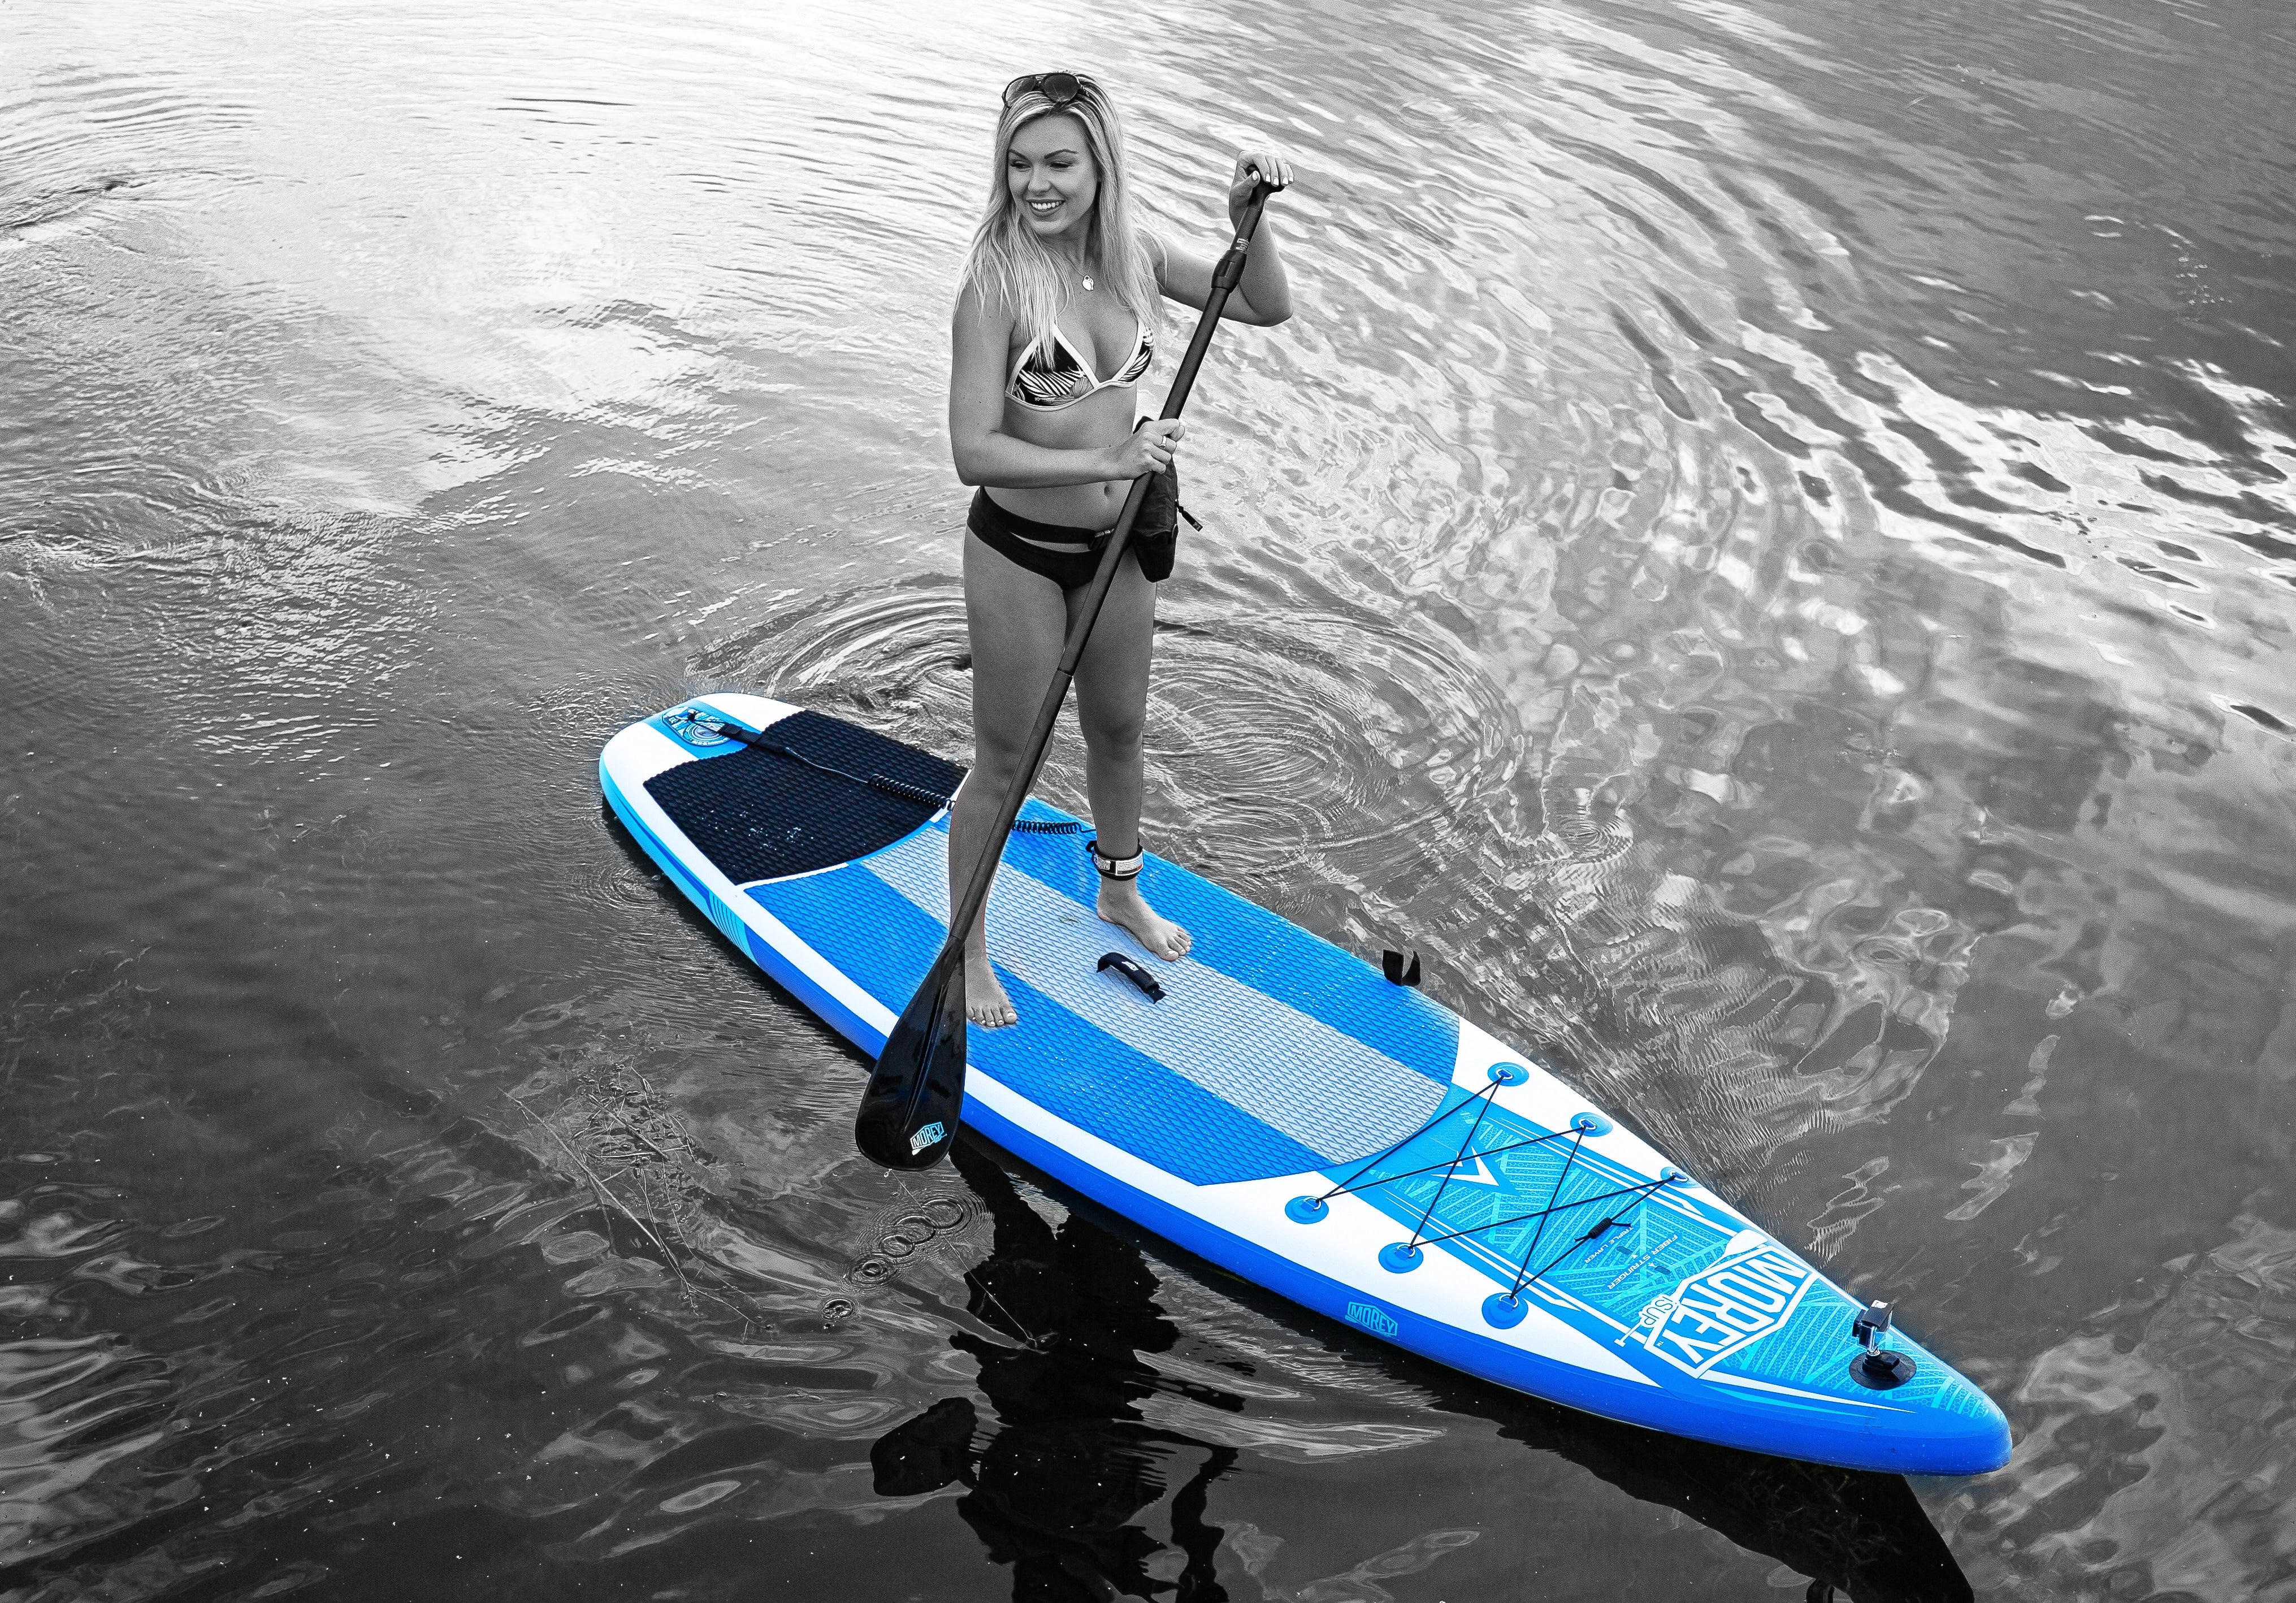
Touring board shape optimised for flatwater, river or open ocean paddling. Pointed nose area to help the board slice through the water smoothly, increase glide and help the board go straight.

  • Dimension: 11' (L) x 34" (W) x 5.5" (D)
  • Made of heavy duty PVC & built with drop-stitch construction
  • Soft EVA traction pad
  • Tail D-ring for attaching the ankle leash
  • Bungee system for securing gear
  • Tri-fin system for enhanced tracking
  • Removable center tail fin
  • Carry handle for easier transport of the board
  • Fiber PVC inner stringer
  • Paddle holder loops
  • Camera Mount (GoPro compatible)
  • Nose Bumper
  • Traveling backpack & repair kit included

DESIGN

Triple layer stringer construction made of heavy-duty PVC & built with drop-stitch construction

PORTABILITY

A sturdy handle makes it easy for one person to transport. The Build-in bungee strap for securing gear

STRUCTURE

Reinforced nose bumper

DURABLE 

EVA traction desk pad for foot traction Tri-fin system Adjustable Paddle

ACCESSORIES 

Strap holder for holding the paddle when not use
Value-added bag included
Other Accessories: High-pressure hand pump with gauge, coil leash, built-in camera mount, repair kit
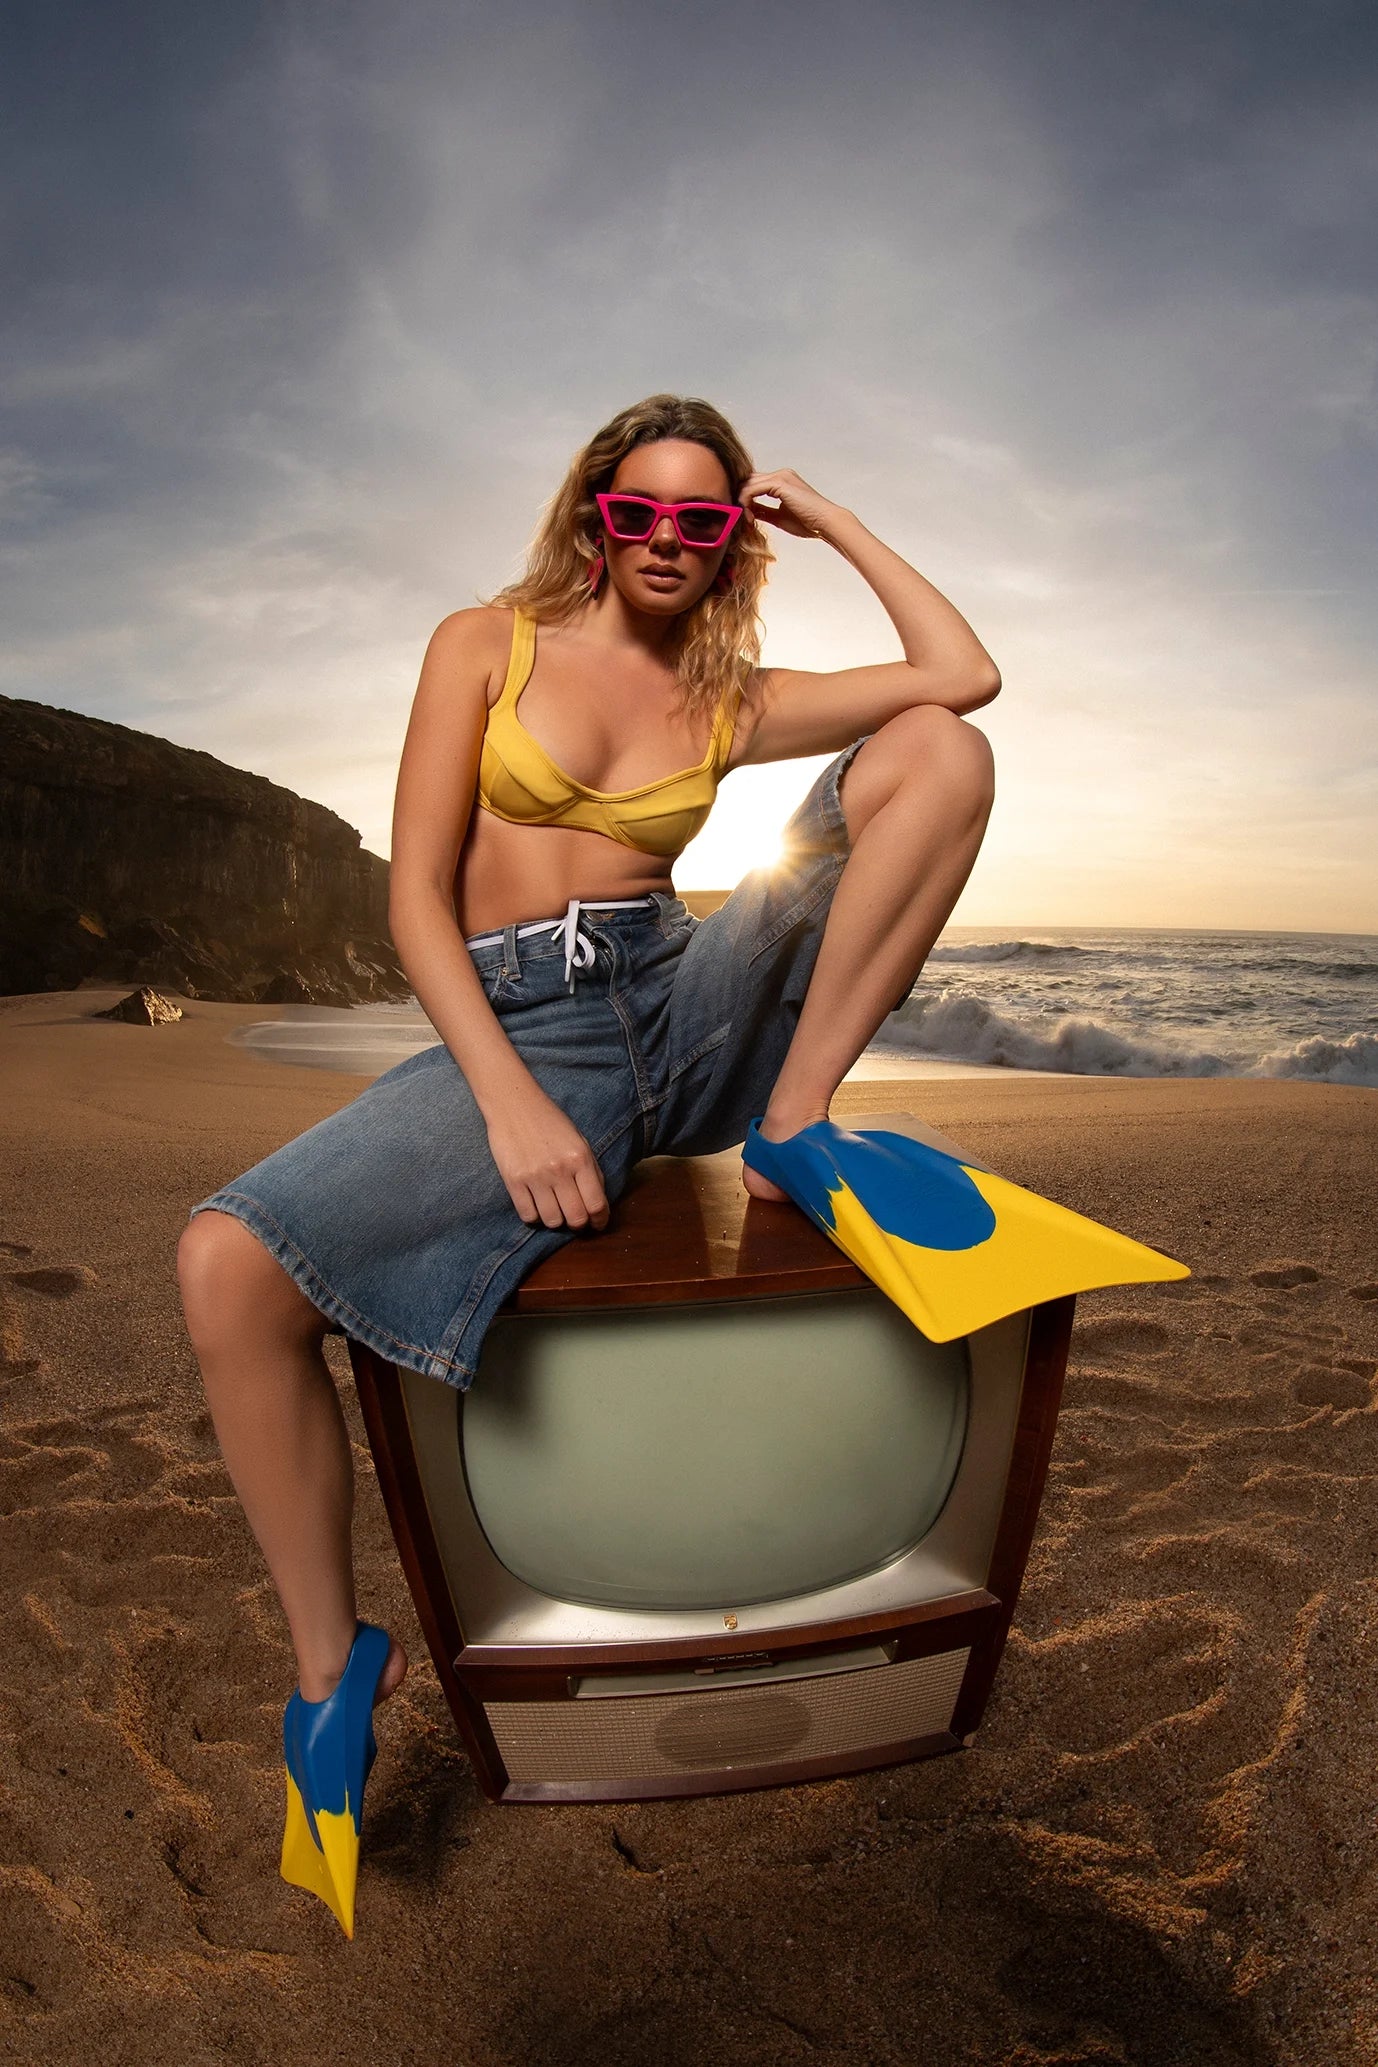
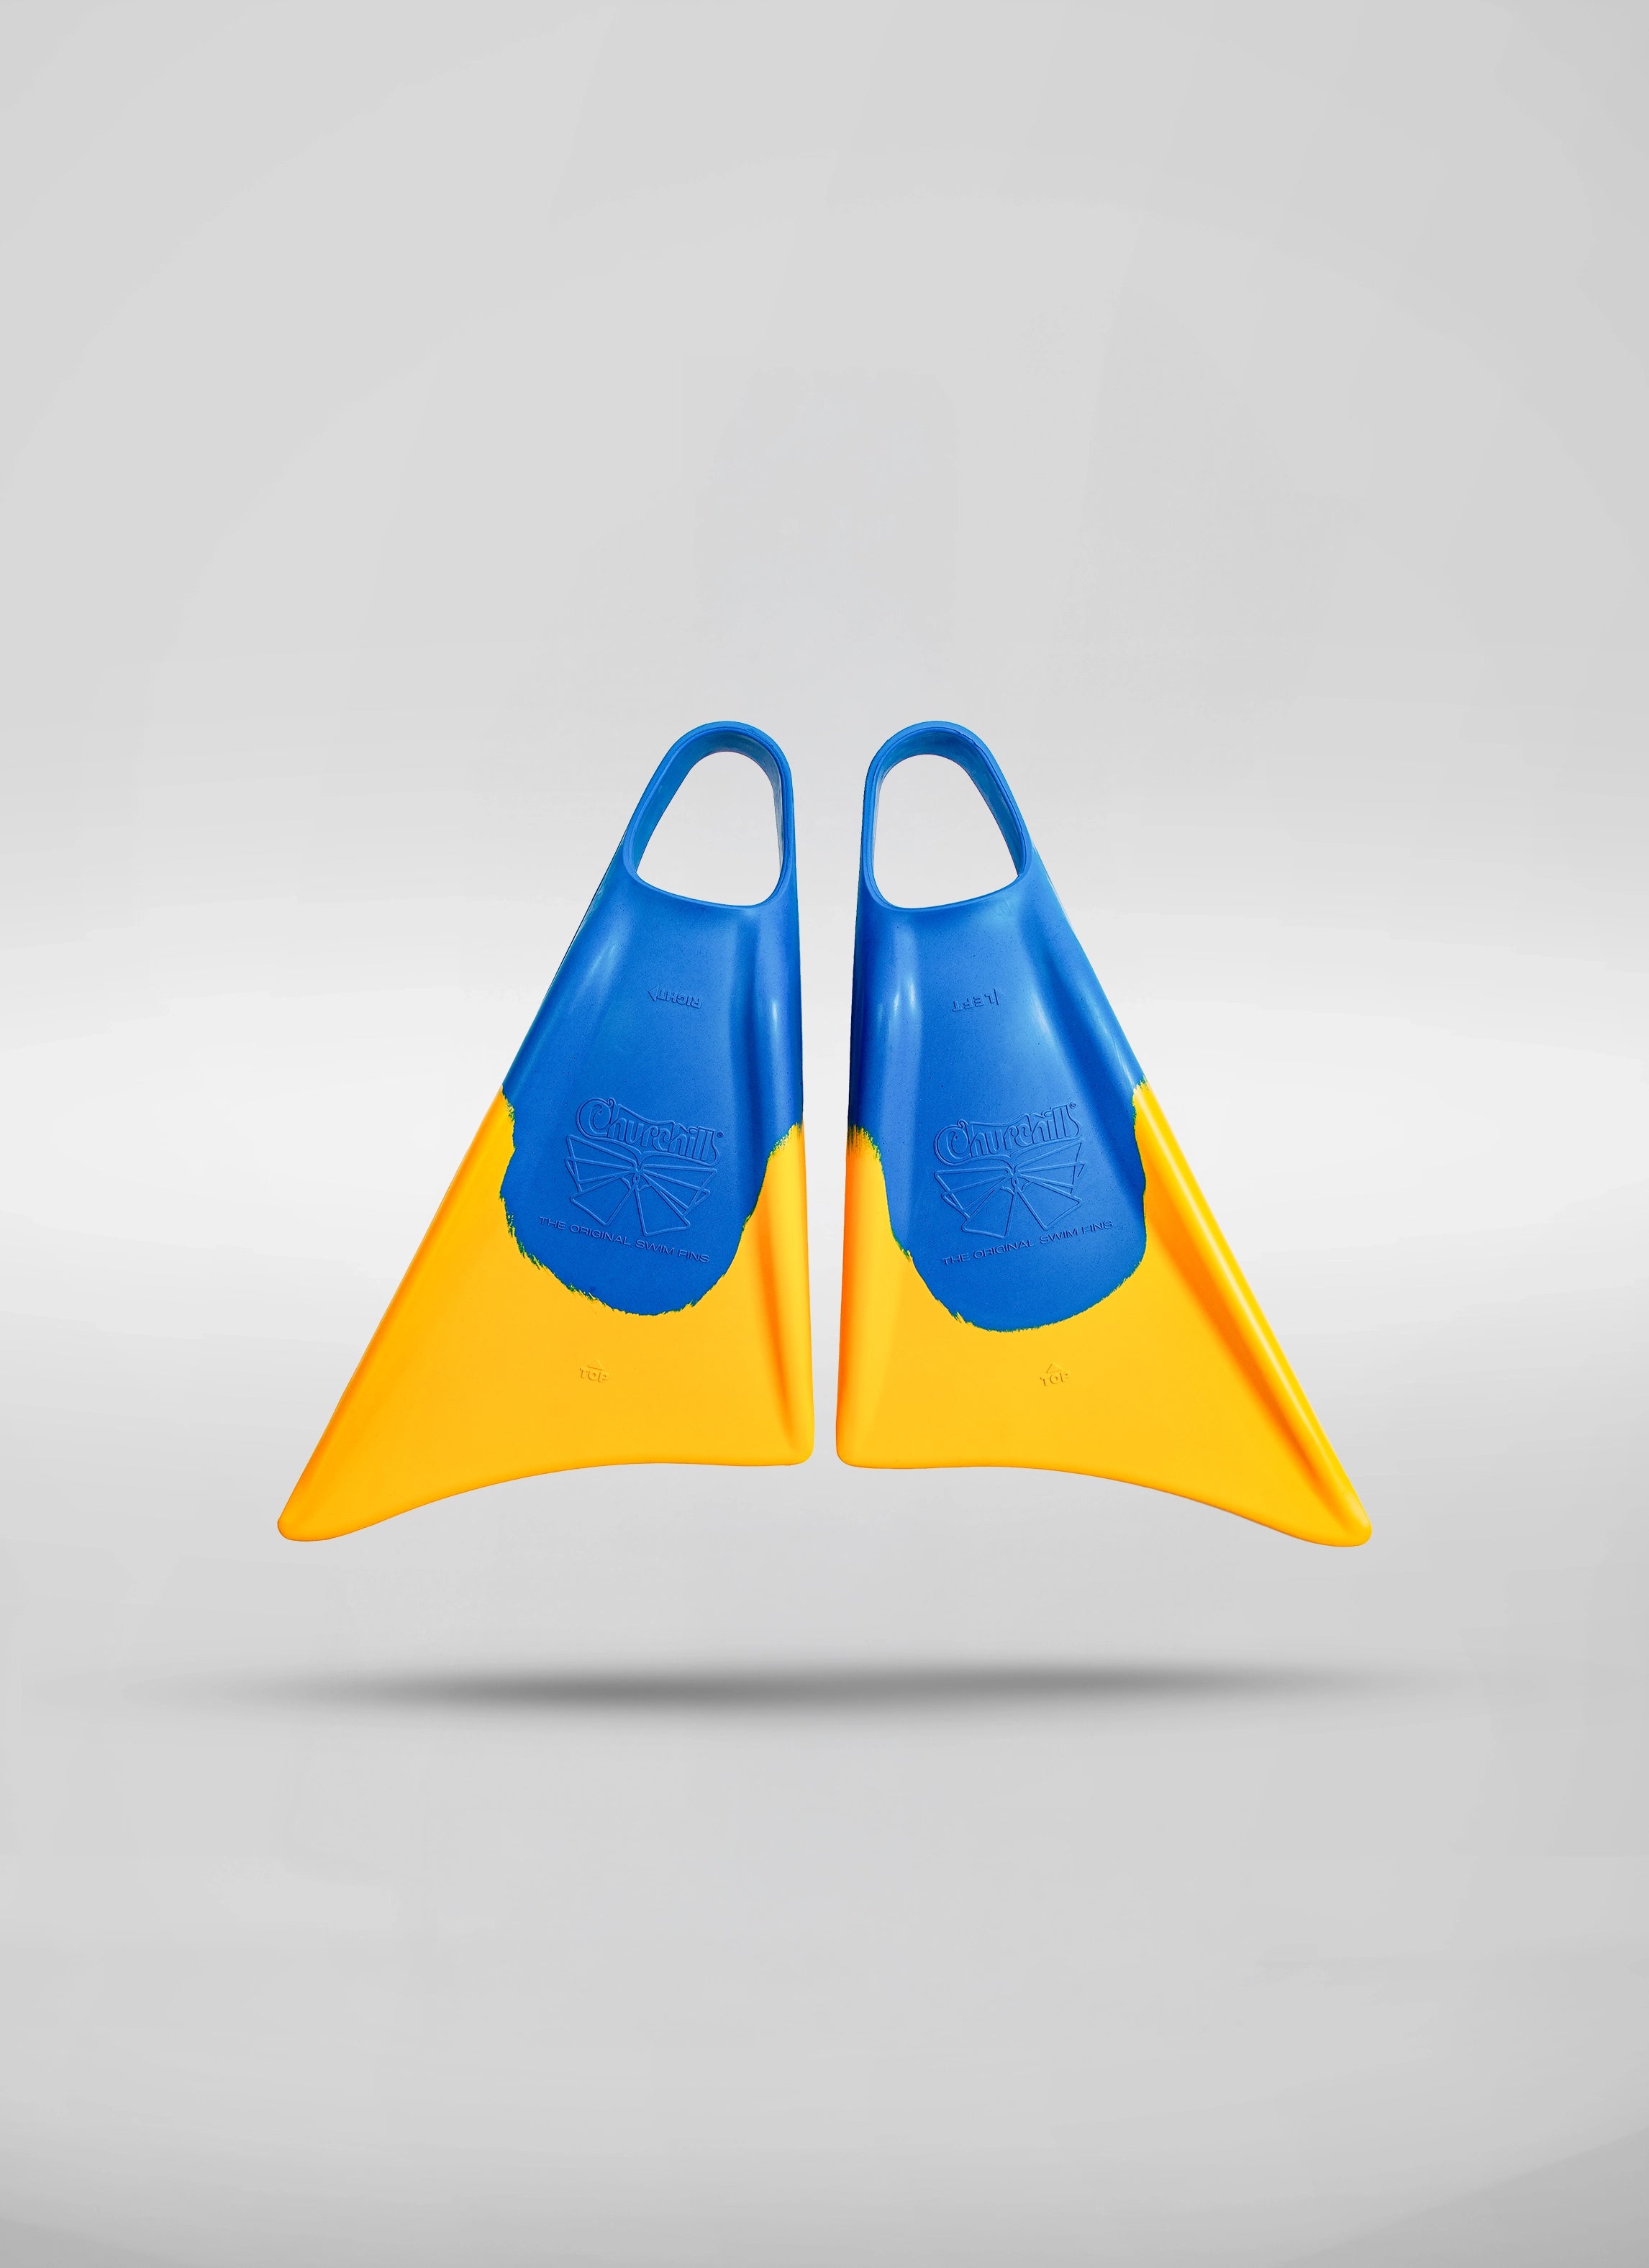
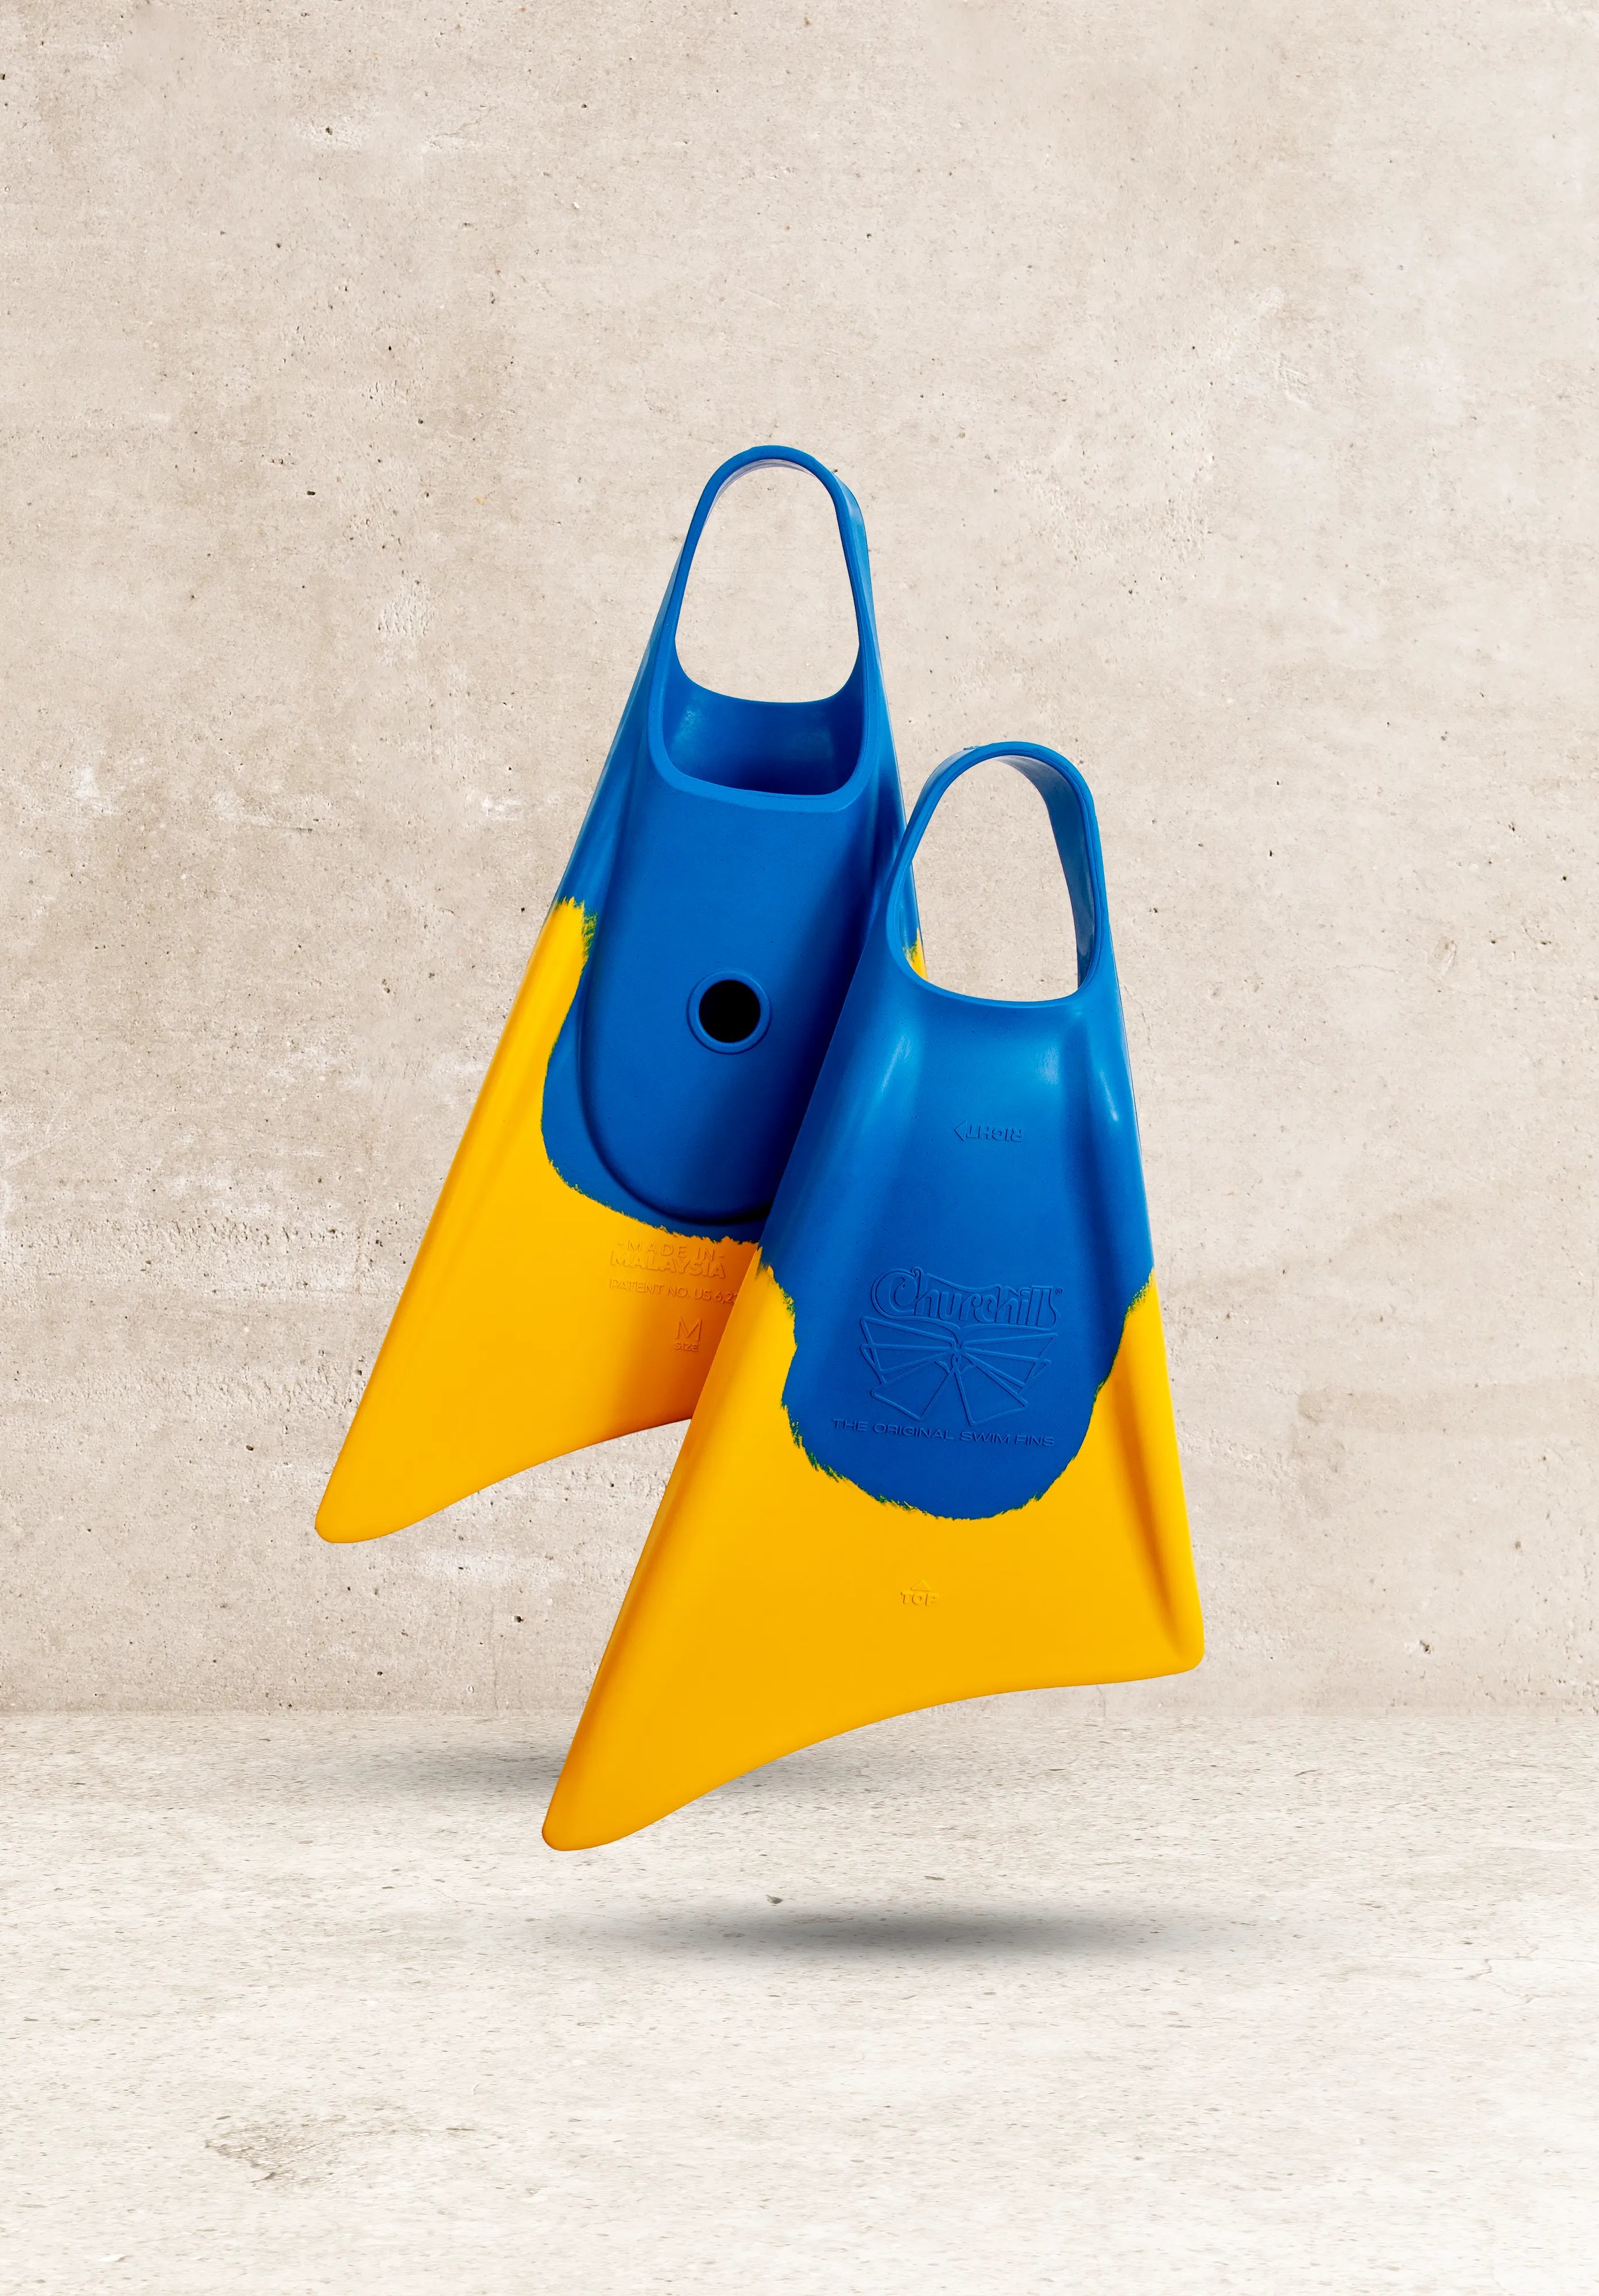
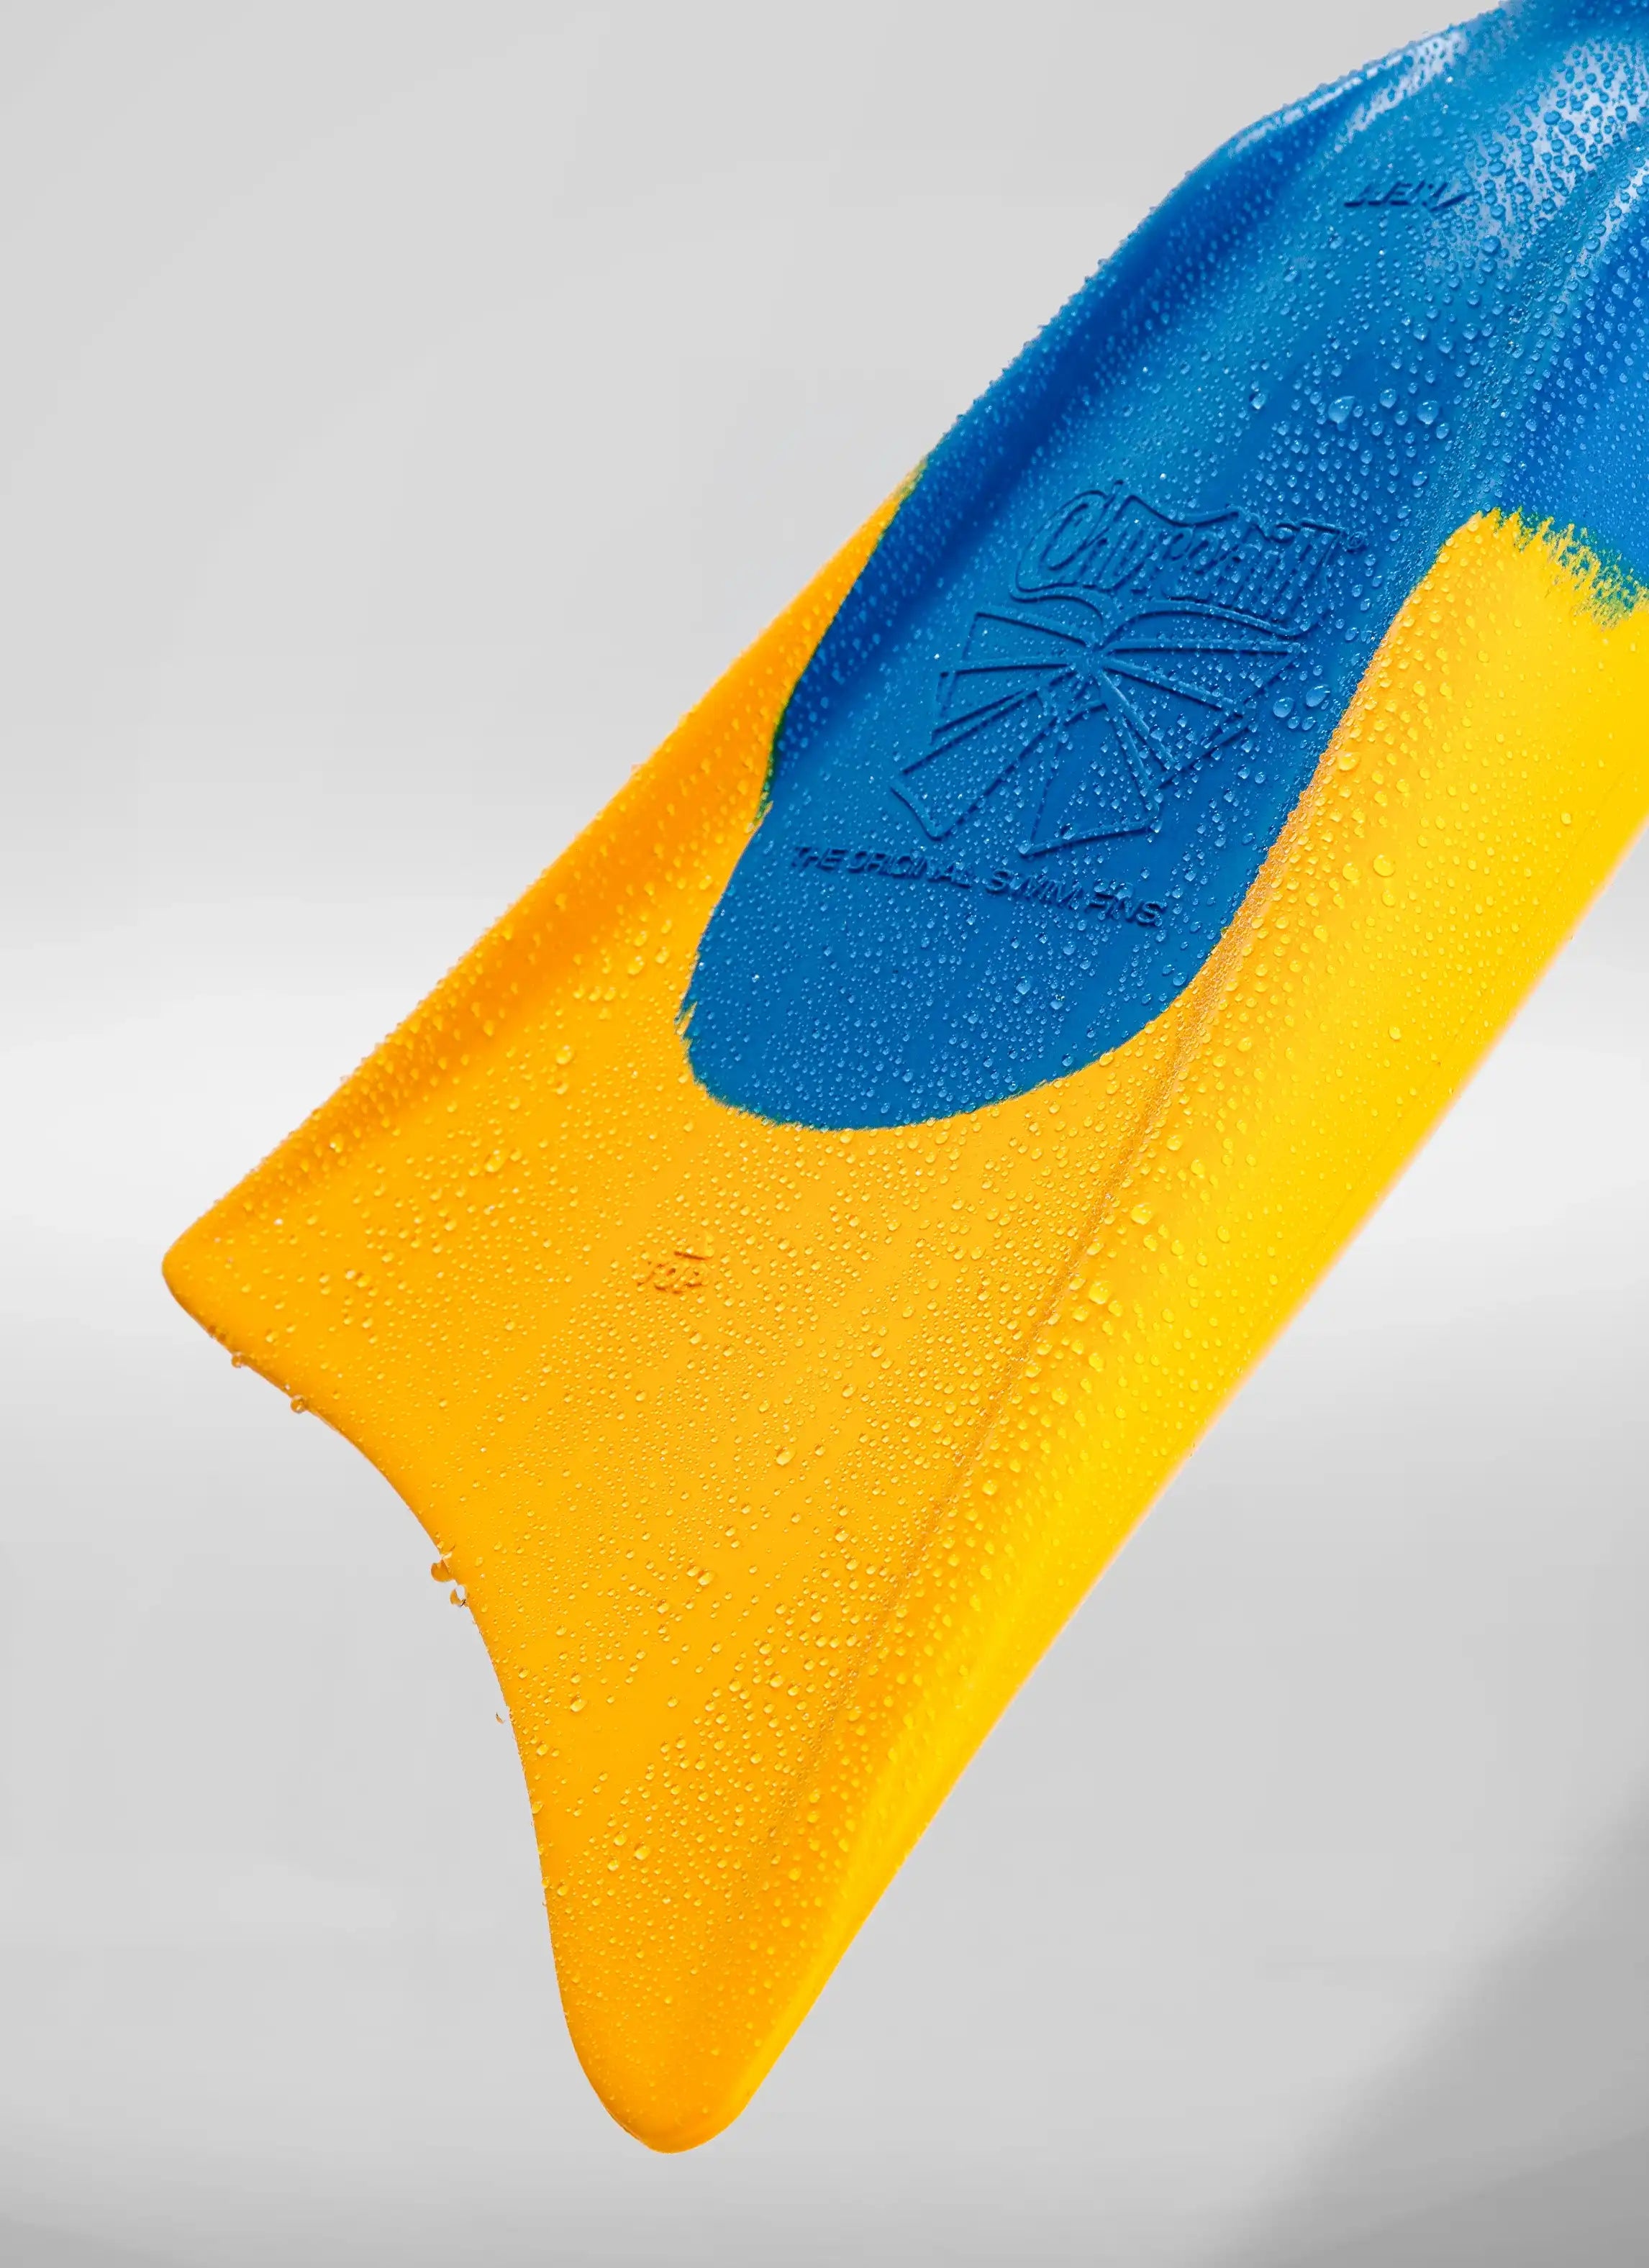
Lifestyle images

Man carrying X-PLORE SUP
Man carrying X-PLORE SUP, zoom in fabric handle
Boy paddling on a X-PLORE SUP, front side view
Boy paddling on a X-PLORE SUP, back side view


Highlight features

Morey SUP X-PLORE zoom in parts, highlight features
Morey SUP Camera Mount (GoPro compatible)
Camera Mount
(GoPro compatible)
Morey SUP Paddle Holder
Paddle Holder

Morey SUP Fabric Handle
Fabric Handle

Morey SUP Valve and D-Ring
Valve and D-Ring

Morey SUP Nose Bumper
Nose Bumper

Morey SUP 6 point Bungee System
6-point Bungee
System
Morey SUP Eva Traction Pad
EVA Traction Pad

Morey SUP Tri Fin System
Tri Fin System


About this product

 
Explore ​
The wide tail adds extra stability while the shape of the board allows for a fast tracking experience. Supports riders up to 320 lbs.​ Great for flatwater and river paddling.

Lightweight ​
And portable, you can carry the stand-up paddle board anywhere with the carrying bag after you deflate the paddle board.

Prepare for the unexpected
Heavy duty PVC material and drop-stitch construction, high-buoyancy and rigid reinforced material preforms like a hard board

Glide
The Unique Tri-fins design provides paddle board additional stability with more efficient tracking for the beginner. The large and thick deck pad secure your footing, bungee for securing on-board cargo, no age and skill limit!


Cross-sectional board view

Morey SUP Cross-sectional board view
Reinforced rigidness
With dual layer heavy duty PVC as well as an inner stringer on the top and bottom, you’ll have a hard board that withstands unexpected conditions


Accessories

Morey SUP accessory - Travelling Bagpack
Travelling Bagpack
Morey SUP accessory - Fin
Fin
Morey SUP accessory - Leash
Leash
Morey SUP accessory - Paddle
Paddle
Morey SUP accessory - Dual-action pump
Dual-action pump
Morey SUP accessory - Repair Kit
Repair Kit
 

Video of the product


Product specifications

Morey SUP X-PLORE Product Specifications
11ft. X-PLORE Inflatable Stand Up Paddle Board
Size
11’
Dimension
11' (L) x 34" (W) x 5.5" (D)
(335 x 86 x 14 cm)
Weight capacity
320 lbs
Board weight
22.7 lbs (10.3 kgs)
Max pressure
15 PSI
Fin
Tri-fin system, removable center fin
Paddle Type
Adjustable 3-piece paddle
Backpack
Durable backpack for storage and travelling
Pump
Dual-action pump with pressure gauge
Camera mount
Yes
 

Product guides and documents

Video of valve operation (push down version)


Customer questions and answers


Dual-action Pump
Q: When I pump up the board the hose leaks. What should I do?
A: Check the threaded connection of the pump hose where the hose connects to the pump handle. Make sure the connection is screwed on properly and is not cross-threaded. Inspect for any holes in the pump hose.
If holes or cracks are found, call toll-free: 1-800-900-9253 or contact us via email at: info@moreybodyboards.com for a replacement hose.

Q: I cannot pull up on the pump to fully inflate the paddleboard. What should I do?
A: The pump has the option to be a one-way pump and inflate the board on just the down stroke of pumping. This method requires less effort. To switch from "Dual action" pump to "Single action" pump you can open and remove the switch tap on the top of the pump cylinder. Note the marking on the pump cylinder showing the different pump modes.

 
Inflation Valve
Q: How does the valve work?
A: The valve has two positions. The first is two-way which is for deflation only. The second is one-way which is for inflation only. To switch between positions just push the center of the valve stem down once. To switch again, push the center of the valve stem once more.

Q: I just pumped my board and removed the hose, but now air is flowing out of my board. What do I do?
A: Push the center of the valve stem once to switch the valve from two-way to one-way position. This makes it so that the air goes in and stays in.

 
Deflation
Q: How do I deflate the board?
A: Push the valve stem once to switch the valve position to two-way and air will come out.

Q: How do I roll the board up to fit in the bag?
A: Deflate the board by switching the valve position from one-way to two-way. Roll the board from nose to tail to force all of the air. Be sure to replace the valve cover before storing.


Paddle
Q: How adjustable is the paddle?
A: The paddle can be adjusted 15 inches.

Q: What is the height range for the person(s) using the adjustable paddle?
A: Users between 4 feet 6 inches and 6 feet 5 inches.

Q: I broke my paddle. What should I do?
A: Purchase a new paddle or contact us for a replacement.
(Call toll-free: 1-800-900-9253 or contact us via email at: info@moreybodyboards.com) .

 
Use on Rivers
Q: Will rocks hurt the board?
A: Bumping into/scraping over rocks will not typically damage an inflatable board, however continuous scraping, over time, could lead to degradation and potential damage.

Q: Can I use my board on the river and in whitewater rapids?
A: The board is suitable for flat water river use and with the proper training/knowledge is suitable for moderate whitewater. Users should never attempt paddling in swift moving water without proper instruction from a certified professional.

 
Transport
Q: Can I take my paddleboard on airplanes?
A: Yes, most airlines will allow you to check your inflatable paddleboard. Make sure to check with the airline before flying.

Q: Can I transport an inflated board on top of my car?
A: Yes, you can as long as it is securely attached with strong enough rope or cam straps to approved vehicle car racks. Make sure the pressure of the board is at least 12 PSI for "on car'' transport.


If the board is losing air pressure, not caused by colder temperatures, check the board for leaks, starting with the valves. A leaking valve is rare, but if you do find a leak, we can send you a replacement valve. To locate a leak, we recommend mixing soap and water in a spray bottle, spray around the valve. If you see bubbles forming, check your valve seating and base and be sure the valve insert is screwed tight. If you continue to have problems it’s probably time to order a new valve. Replacement of the whole valve can be done with a simple tool that comes with the replacement valve. If the board is losing air and the valves are good, it probably has a small puncture. Small punctures can be repaired easily and permanently. Spray around the board until air bubbles become visible and mark the position of the leak. If you do not find air bubbles, inflate the board to maximum air pressure and try to listen to find the leak, if you can narrow the area down, return with a spray bottle to identify the source of the leak.

Repair Kit
Punctures less than 1/8” in size can be repaired simply without a patch. Deflate your board, then clean and dry the area to be repaired. Apply a small drop of glue to cover the puncture, and let it dry 12 hours.

If your board needs repair, use the patches in the repair kit and follow these steps:

  • 1. Deflate the board completely, lay it flat and wait for it to dry.
  • 2. Cut a patch that is 2 inches larger than the tear/rip all the way around.
  • 3. Use alcohol to clean the repair area.
  • 4. Apply three coats of adhesive to the patch and the board. Wait 5 minutes in between each coat.
  • 5. Place the patch over the tear/rip. The adhesive will react quickly, so make sure the positioning is precise/accurate. Use the roller to ensure the patch lays flat and even.
  • 6. Wait 24 hours before re-inflating the board.


  • STEP 1: Unpack the box. Ensure there are no sharp objects on the ground, then unroll while paying attention to the way it was rolled up.
  • STEP 2: To inflate, unscrew and remove the valve cap from the valve, located on the tail of the board. The valve has two positions. The valve must be in inflation position to inflate, meaning that air can only move through the valve in one direction, into the board. When the valve stem is in inflation position, the valve stem will stick up a little higher than in the deflate/two-way position. Push down on valve stem once to switch between positions.
  • IMPORTANT NOTED: Always check if the valve is sealed completely, or using the VALVE WRENCH to slightly tighten up before inflate the board.
  • STEP 3: Take the dual-action pump out and attach the hose to the pump handle for inflation. Make sure the hose is threaded onto the pump handle properly.
  • STEP 4: Close and tighten up the switch tap to switching the pump from "Single Action" to "Dual Action" for quicker inflation of the board. In this position the pump pushes air through the hose during both the downward push and upward pull. And then, connect the pump hose to the board. Always make sure there is no sand or dirt in the end of your hose before connecting it to the valve on the board. Sand and dirt can cause the valve to stick/clog causing the board to lose air.
  • STEP 6: If the pump does not seem to be inflating, and instead is sucking air out of the board, then reconnect the pump hose to the opposite port on the top of the pump handle.


  • STEP 7: Pump up the board with up and down motion of the pump.
  • STEP 8: Once the board is taking shape, and you begin to feel resistance from the pump, open and remove the switch tap to switching the pump from "Dual Action" to "Single Action." The switch is located at the top of the pump cylinder.
  • STEP 9: Continue to pump the board to anywhere between 12- 15 PSI, with 15 PSI being maximum pressure. The Red text on the gauge dial is the PSI measurement.
  • STEP 10: Assemble the paddle and adjust the paddle to the desired length using the information on the handle that contains user height and corresponding length options. Ensure that the pins of the adjustment are fully engaged before using.
  • STEP 11: Attach the leash (Included) to the leash connection ring located on the rear of the board and next to the valve.
  • STEP 12: The two side fins are permanently fixed on the board. Once the board is inflated, slide in long center fin into the slot on the bottom of the board and make sure to insert the fixed pin before use.
  • STEP 13: Put on a coast guard approved flotation device, and inspect the environment for safe paddling conditions.
  • STEP 14: Go and have fun on the water!


What Our Customers Say