Bodyboarding offers a world of exhilarating experiences on the waves. And like all well-loved sports equipment, bodyboards too can show signs of wear over time.
The good news? With a few handy tools and the right approach, you can easily address most damages, giving your beloved board a longer, more robust life. For visual learners, we've also made an easy-to-follow video tutorial to guide you through the process.
Dive into this guide and watch our video to learn how to fix 3 typical bodyboard issues. Let's keep you riding those waves longer!
1. Bubbling Issues

Bubbling on a bodyboard can occasionally happen when there is trapped air between the board's core and its outer layer, especially when exposed to significant temperature changes or direct sunlight. This separation, known as delamination, can affect the board's performance and longevity if not addressed promptly. Here is how to fix it.
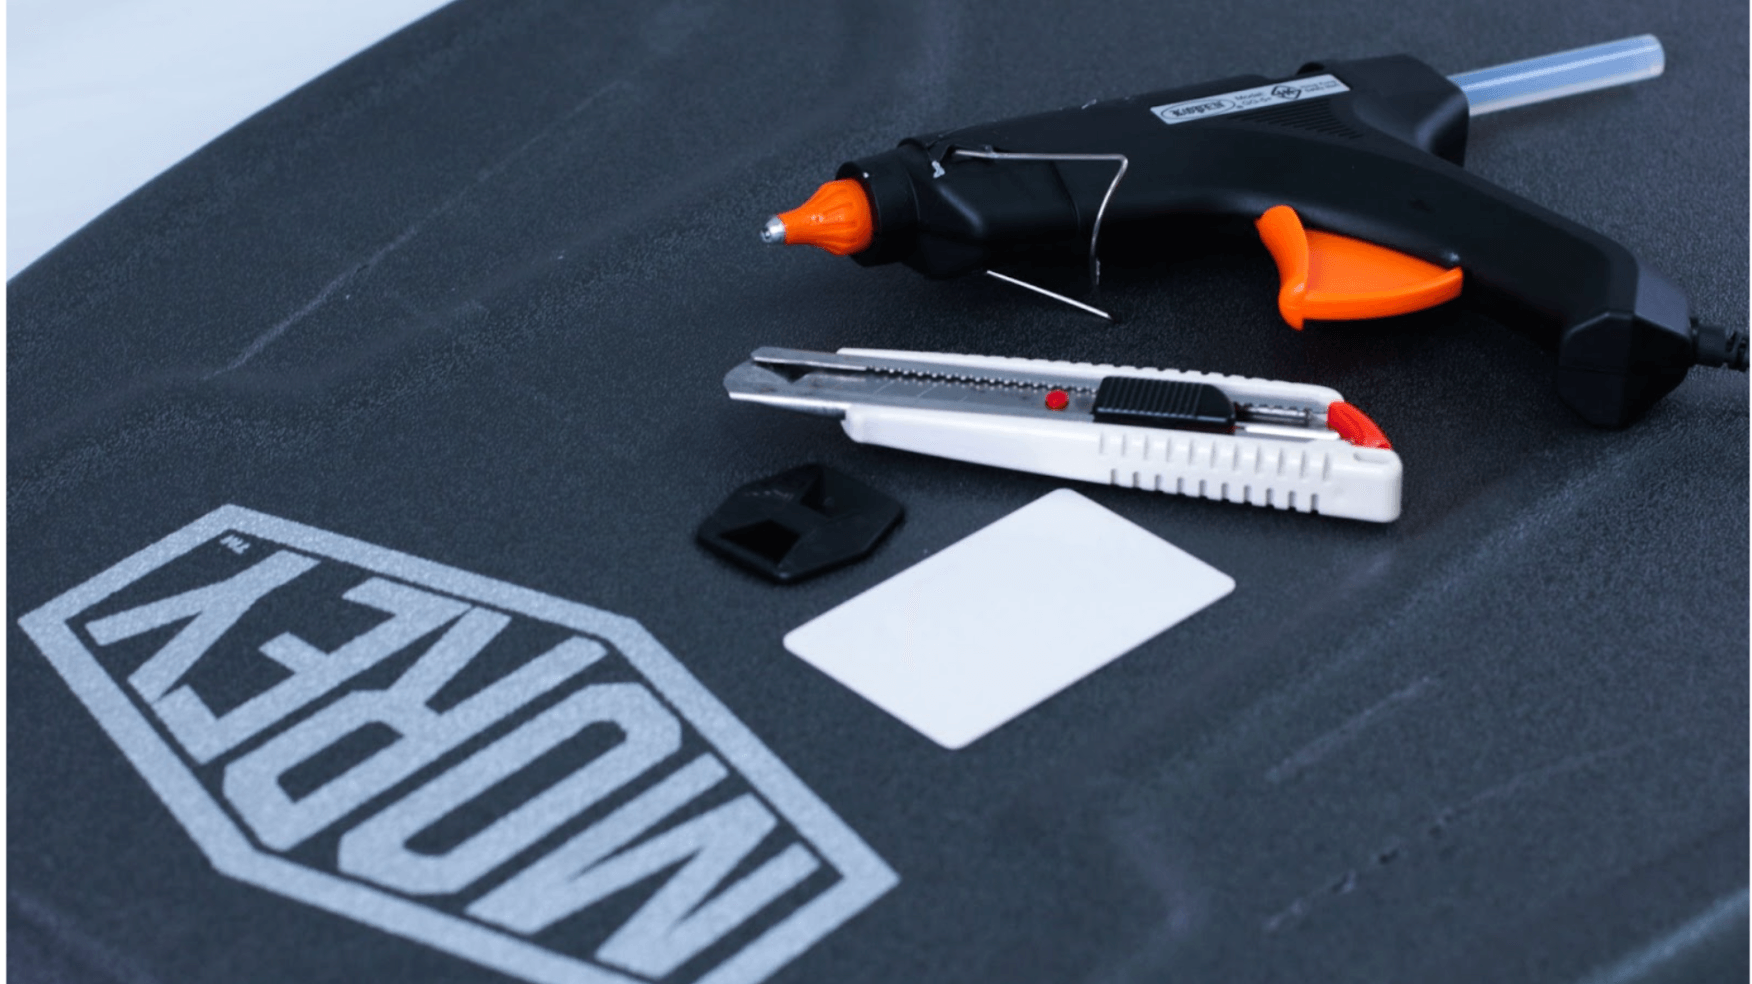
Tools and Materials:
- Boxcutter
- Hot glue gun
- Sturdy card (like a credit card)
- At the spot where the bubble has formed, make a careful incision to open the bubble using a boxcutter.
- Heat the hot glue gun, and once it's ready, insert a liberal amount of glue into the opened bubble.
- Using a sturdy card, scrape the outer layer of the bubble area to distribute the hot glue evenly within the bubble, ensuring there are no air pockets and that the glue fills the entire separated space.
- Finally, apply a layer of hot glue over the incision you made with the boxcutter to seal it completely.
2. Cuts, dings, holes or punctures

Tools and Materials:
- Hot glue gun
- Card
- For superficial damages that don't expose the core, it's best to leave them be.
- If the core is exposed, heat up the hot glue gun.
- Once hot, apply the glue generously over the damaged area.
- Using the card, smoothly scrape across the applied glue, ensuring a flat and even finish.
3. Slick Peeling Off

Over time and with regular use, even the sturdiest bodyboards can face wear and tear. It's not uncommon for the slick to begin peeling away, especially after rigorous sessions. Here is how to bring your board back to its prime condition.
Tools and Materials:
- Hot glue gun
- Heat up the hot glue gun.
- Apply a generous amount of glue either on the underside of the deck or directly onto the core.
- Apply pressure to the area that is peeled off.
- If the slick starts to peel from an edge, take note that the deck foam often wraps slightly around the slick. Whenever possible, tuck the slick back into the foam, ensuring it's engulfed snugly.
- Wipe off excess glue, making sure there's a seamless bond between the slick and the deck.